
What better accompaniment to freshly brewed coffee than soft, delicious, home-baked bread?
We make all our own bread. It started as an experiment, because I was having trouble with wheat. Marko read somewhere that the commercial method of bread production, the Chorleywood Bread Process, can produce bread that some people find problematic, because it is so fast the yeasts don’t have time to break down the gluten properly. This might or might not be true in my case, but my experience of home made bread has been a positive one, and I don’t enjoy commercial bread any more.
It might seem like a lot of effort, but it really isn’t, and while the resulting loaf works out more expensive than a standard sliced white from Aldi, my preference is to substitute quality for quantity where it makes sense to do so. Each 1kg loaf we make does us for anything from 4 days to a week, and while the process takes a few hours, the amount of actual work involved is about 15 minutes, and it’s well worth it.
So if you’re having a day at home writing, and fancy breaking up your writing with an activity that doesn’t take your mind away from the story, try making some bread.
For reference, all my flour comes from Marriage’s Millers these days. I’ve tried lots, and their flour consistently produces great results. I most often use a 50:50 blend of Strong Wholemeal and Very Strong Canadian White flours, but you can make up the full weight with whatever flour you like, as long as it’s bread flour. I also have a baking dome by La Cloche, which Marko bought me for Christmas last year and is the most frequently used piece of specialised kitchen kit I own apart from the kettle and the Chemex. It makes superb bread in a standard domestic oven. For proving, I use a 1kg lined wicker proving basket.
You don’t need to use either a dome or a basket — the following recipe can be baked in a 1kg (2lb) loaf tin. If you want to do that, the dough should go into the tin for its second proving. Alternatively, you can use the dough to make a plaited loaf or some other shape that will hold itself together on a tray for the second prove.
Our last trick is the use of a sourdough flour improver. Our sourdough is around three years old, and I’ve tagged a method for making one at the bottom. It’s not necessary to include this, and you can either leave it out or put in quarter of a cup (about 4 tablespoons, or 60ml) or plain, live yoghurt instead.
This recipe makes an 800g loaf. Or thereabouts.
Ingredients
- 600g flour (strong white, strong wholemeal, or a blend of flours, as long as they are strong bread flours) plus a little more for dusting the proving basket, if using
- 100ml boiling water
- 260ml cold water
- 1 tsp sugar
- 1 tbsp dried yeast (unlike Paul Hollywood, I do NOT use the fast acting kind, which contains flour improvers, but the kind that needs to be activated in water)
- 1.5 tsp fine sea salt
- Half a cup (about 120 ml, or a ladle full) of sourdough starter OR quarter of a cup (about 60ml) of plain live yoghurt (optional)
- 1 tbsp olive oil plus a little more for oiling the proving bowl, the kneading surface and the tin/tray/dome
Method
1.Dissolve the sugar in the boiling water. Add the cold water, then sprinkle the yeast in and mix thoroughly. Measure out the flour into a large mixing bowl.
2. Go away and do something else for fifteen minutes. Perhaps a timed writing exercise. Adam Maxwell has a fun prompt generator if you’re stuck for ideas. Or how about a picture prompt from Flickr? I keep a Pinterest board just for story prompts — feel free to use one of those.
3. Now your yeast mix should be nice and frothy. (It could take longer if your house is cold. If this is an issue, you can use 150 ml boiling water and 210ml cold water to give it a boost.) Add it to the flour along with about half a cup of sourdough mix or the yoghurt, if using. Mix it together thoroughly with a butter knife, so all the flour is incorporated. It might be quite sticky: this is fine.
4. Go away and do something else for twenty minutes. Perhaps another timed writing exercise. You could use the results of your last one as a starting point or try something different. Maybe a random Wikipedia entry. Or pick a scene from one of your favourite stories and write about what one of the bystander characters was doing before the scene started.
5. Now that the flour has had a chance to absorb all the water, and the yeast has started work, add 1 tbsp of olive oil and the salt to the dough. Squidge it all together and turn out onto an oiled surface. Knead. Try not to add any more flour, even if the dough feels sticky, unless it’s more like wrestling with an amorous squid than kneading.
HOW TO KNEAD: Pin one edge of the dough ball with the fingers of one hand (usually your non-dominant), as if it had teeth at the other end and poisonous spines, and the only way you could keep it from escaping or turning round to bite you was by pressing the fluffy top of its tail to the ground. With the heel of the other hand, push the dough away from you, stretching it to about as half as far as you can reach. Take the distant end, fold it in half back over itself towards you, then turn the dough through 90° (a quarter turn) and repeat. Once you get the hang of it, you can try the double fold (stretch as far as you can reach, fold, press down, fold again, turn, repeat).
6. Knead until the squid wants you to stop — the dough will tighten and feel like it wants to stay a ball rather than be your BFF and cling to you for dear life. At this point the surface will be smooth and soft, but the dough may still be a bit sticky. That’s fine, as long as it’s happy being a ball. This takes about ten minutes, which is just enough time to think about what you’re going to write next, or for your subconscious to get to work on that tricky plot point that’s been bothering you.
7. Round the dough.
HOW TO ROUND THE DOUGH: On an oiled surface, and with freshly oiled hands, flatten the dough into a round then pinch a bit of an edge, pull it out and fold it back in to the centre. Repeat slightly further along, as if you were creating petals and folding them into a bud. Once you’ve done this all the way round, turn the dough over and use the edges of both hands to smooth down and spin the dough, tucking it under itself. Gill Meller of River Cottage has a video showing the process — start at 4:45 to avoid listening to his sales pitch for the oven he’s using.
8. Place the rounded dough in an oiled bowl (I use a 3 litre Pyrex mixing bowl), top down to get it oiled, then flip it so the top is uppermost. Cover in cling film. Now go away and do something else while it rises, which can be anything from 1 hour to 4 hours depending on room temperature. I often bring my dough with me into my office/writing space so I can keep an occasional eye on it.
9. Once it has doubled in size, knock it back by prodding it firmly with a fist, and repeat the ROUNDING step. If you’re using a round proving basket, dust the basket with flour and put the dough in with what will be the base of the loaf uppermost. If you’re proving it in a tin, shape the rounded dough into a fat sausage with your hands, tuck the ends under, then put it into the oiled tin and press down so it reaches the corners. If you’re shaping your loaf some other way, do that instead. Cover your dough with either a damp, lint-free dish towel, or stick it inside a plastic bag.
10. Go away and leave it to rise again for around half an hour to an hour. It’s easy to tell when it’s ready if it’s in a basket or a tin: once it has grown just higher than the top of the tin or the basket you’re good to go.
11. FOR A TIN:
Slash the loaf with a very sharp knife or smoothly serrated bread knife, once in the middle and again about halfway to either end. Spray the surface of the loaf with water and place into a preheated oven as hot as you can get it. If you like, you can throw a few ice cubes into the bottom of the oven. Bake for 10 minutes, then spray again and turn down to 200°C (180 fan) for a further 30 – 40 depending on your oven.
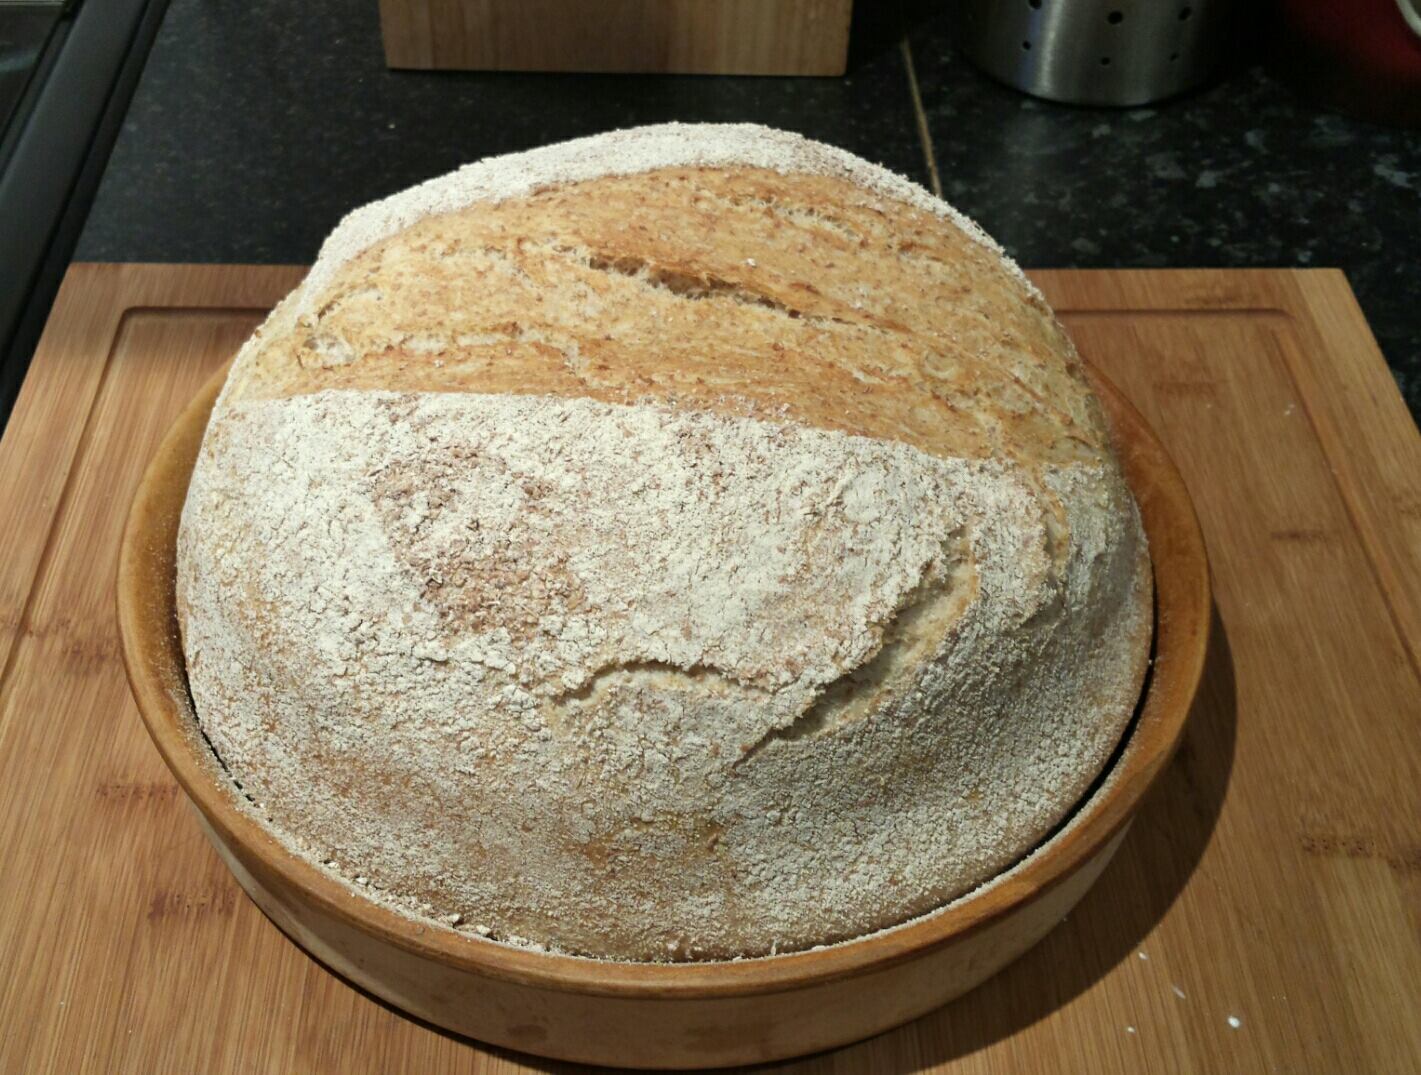
FOR A BASKET AND DOME:
Turn the dough into the oiled base of the dome, slash once right across the middle of the loaf (you might need to make repeat cuts to get the slash deep enough — it should be about half the depth of the loaf), cover, then put into a cold oven. Switch the oven on to 200 °C, bake for 35 minutes, then remove the cover and bake for a further 15-20 minutes.
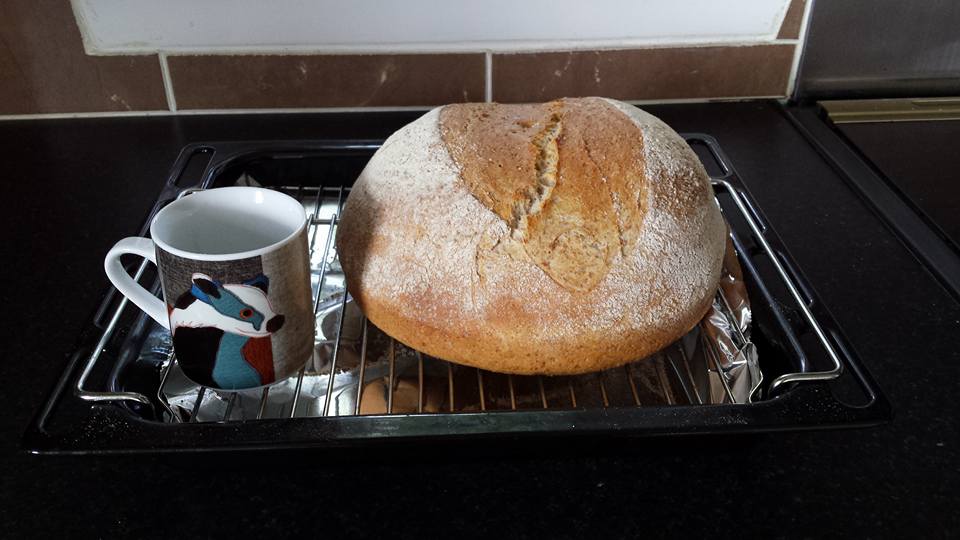
12. Turn the loaf out onto a cooling rack. If it’s done, it should sound hollow when tapped on the bottom.
13. Leave to cool for at least an hour — the sooner you cut into it, the sooner it will start to go stale.
NOTE: you can make a slightly smaller loaf using 500g flour and 300ml water. The 5:3 ratio is the starting point for all basic bread recipes. You can always use the Bakerybits dough calculator for other quantities.
To make your own sourdough starter, take 150g of strong white flour and mix it with 150ml of tepid water in a bowl. Whisk thoroughly, wandering around, harvesting yeast from the air like a perambulatory sky anemone. When I first did ours, I kicked our wood pile a few times and ambled around outside for ages, singing to the yeasts in the hope of luring them from their aerial manoeuvres into my bowl. Cover and leave for 48 hours. Add another 150g of flour and 150 ml of tepid water. By now it should have started bubbling a bit and smell a bit sour. Don’t worry if not, it can take a few days as this method uses only aerial wild yeasts, and they take a while to adapt to their new home. Leave for a further 48 hours, then discard half the mix and replace with 150g flour and 150 ml water. After another 48 hours you should definitely be seeing bubbles, but it might smell acidic rather than pleasantly sour. Keep feeding every couple of days until the colony has settled down and it smells nicely sour and a bit yeasty, almost like beer froth. It is now ready to use. We keep ours in a tupperware tub on top of the breadbin, and it is fed 1 – 2 times a week with strong white flour (i.e. whenever we make bread). It behaves best when the mix is quite thick, like drop scone batter, and it is beaten vigorously at feeding time. Every couple of months we transfer it to another tub and wash the one it’s in.